Water Music
When shooting night photography, I typically employ the THREE Ts—Tripod, Testing, and Timer. Let′s take them in order.
Tripod.
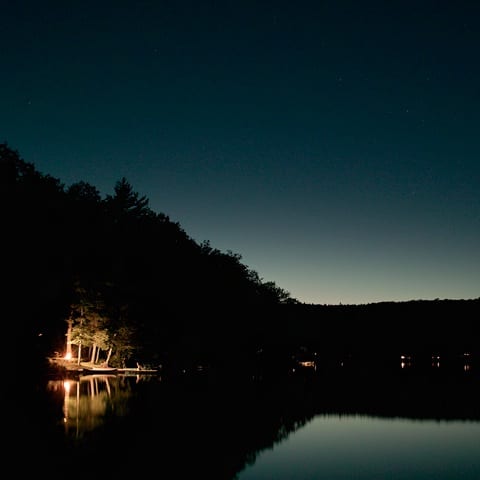
Almost any night shot will require that your camera is on a very stable base. Shooting from the shores of the lake, I was very happy to have my super light and sturdy Manfrotto carbon tripod. With its easily adjustable legs (both angle and length), I quickly found sure footing in some rocks and water. The responsive handle-style ball head easily leveled the image′s horizon.
Testing
Night photographs will be LONG exposures. I picked a fairly large aperture like ƒ4 and flipped my point-and-shoot to Manual Exposure. Now, the testing started by trying out various long (many seconds) exposures. At 8 seconds the scene was dark, but at 12 seconds I had the perfect exposure. [Note: Your meter will be largely useless in situations like this, so proceed with some good old trial-and-error.]
[Also worth noting: If you don′t have Manual exposure possible on your camera, give the Scene Modes “Fireworks” and “Night Scene” a try. Both of those modes give you multi-second exposures.]
Timer.
When you trigger the shutter, even when on a tripod, your hand pressure can actually cause blurring. As I don′t always carry a cable release with me (or sometimes misplace it.), the Self-Timer comes to the rescue. By triggering your shutter with the Self-Timer you will have your hands completely free of the camera when the shutter triggers the exposure. No motion, no blur.


