Techniques on making your image pop: When to Use Your Tripod and NIK SilverEfex Pro
Techniques on Making Your Image Pop:
When to Use Your Tripod and NIK SilverEfex Pro
A DPA webinar attendee asked: Are most of the animal photos shot with a tripod?
Answer: I myself rarely use a tripod when I’m shooting documentary photos as it would be cumbersome and a tripod doesn’t fit the feel of documentary work or the active pace required to capture the subject. I use tripods often for my portrait shoots and many photographers use tripods all the time, depending on the type of photography and the subjects they shoot. The decision to use a tripod will affect many aspects of the finished photograph or shoot. It is important to understand and recognize the difference between Blur, which is caused by subject movement during exposure, Camera Shake, which is caused by camera movement during the exposure and Shallow Depth of Field, which can cause the subject to appear or actually be, Out of Focus. They are very different issues and caused by different things. All of these can be controlled and more importantly prevented in different ways.

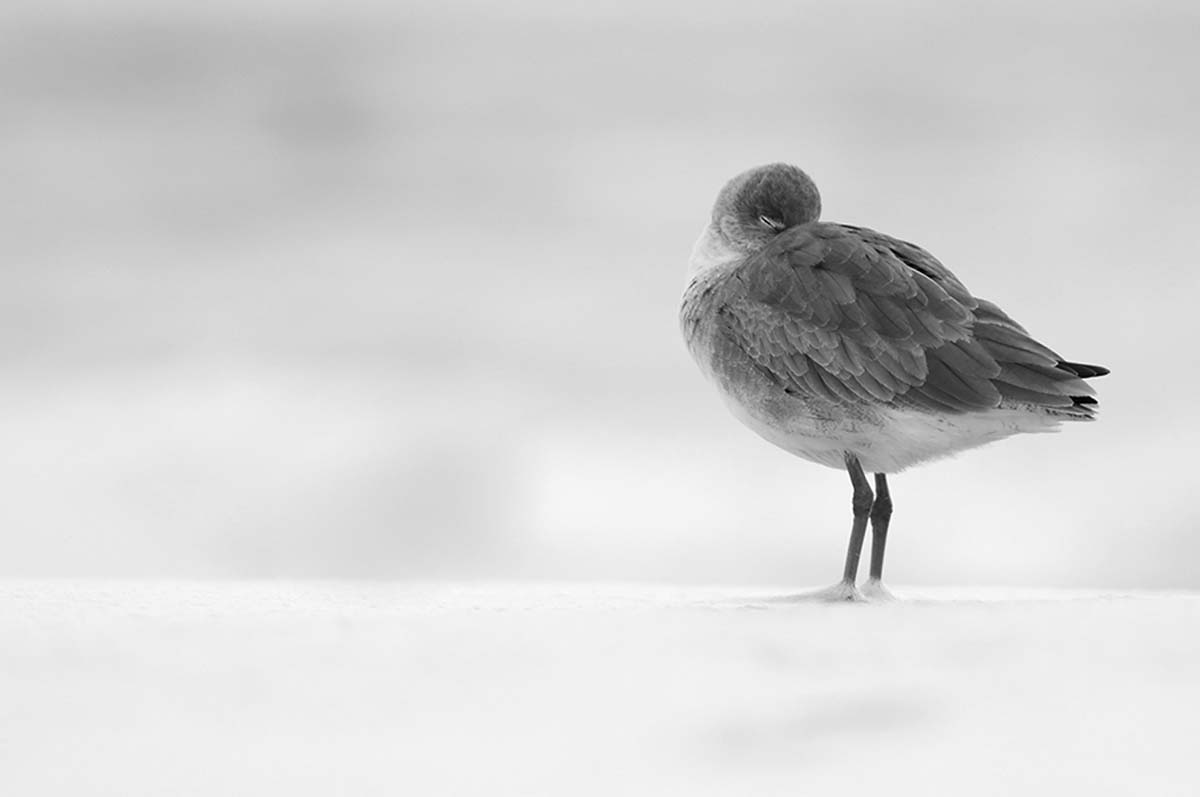
© Nikhil Bahl
Make it Pop with SilverEfex Pro
The striking Black and White photo above shot by Washington D.C. instructor, Nikhil Bahl was shot with the 35mm equivalent of a 510mm lens, a very long focal length. Usually when using long focal lengths and lenses of this size it is advisable to use a tripod. With extremely long lenses any camera movement is exemplified and exaggerated, a slight camera shake can make an otherwise sharp image look soft. This image is very sharp and you can read very sharp detail in the plumage of the bird, making a simple shot appear rather poignant and complex. If you want to really bring out the detail in your Black and White Images take a look at the B&W Software NIK Silver Efex Pro. It’s great for adding simulated film grain, sharpness and the look and feel of old school highly detailed darkroom photos. Sort of like shooting with a 4×5 View Camera and painstakingly printing exhibition prints without all the fuss and bother, count me in!
Using a tripod is a personal decision as much as a technical one. It depends on your individual style of shooting, and the subjects you are passionate about shooting. There are also logistical issues, if you don’t want to be encumbered by a tripod you may be forced to shoot at a higher shutter speed, and thus forced to shoot at a higher ISO depending on the available light. These type of decisions are partially what form a photographer as an individual artist. There is really no right, or wrong way, to photograph anything, the correct way to shoot anything is that which achieves the result you as the photographer desire. If you want to create photographs that look like Impressionist paintings you utilize a slow shutter speed to contribute a certain level of camera shake providing an overall softness, combined with a high ISO to achieve a pointillist effect. These choices are what make your work personal. There are times when a tripod is essential to capture the shot. The the trick is to have it with you, which comes from experience and commitment.
Tripod Tips: When using a tripod, Never lift the tripod by lifting the camera body, make sure the camera is firmly attached and then lift by the Tripod. Don’t add the weight of the tripod to the camera body. You can strip the tripod socket or worse. I know a guy who ripped the guts out a camera body doing this; the insides were left on the tripod while he was left holding a body shell. Use caution also when using tripods indoors, be careful when you lift up the tripod with a camera attached (to raise or lower the tripod legs). Be careful not to bash the camera into the ceiling, lights, ceiling fan etc. Also when you set the height of a tripod make sure all the legs are level (and set at the same the same leg extensions). It’s really annoying to work with an uneven tripod. I have etched pre-measured lines into all three legs of my tripods which aids in leveling. You can use other camera supports such as Tree pods (Clamps etc that attach to a tree limb, Gorilla Pods that attach to just about anything or bean bag type camera rests that you lay on a rock, window ledge or other stable platform.
NOTE: Also see the Webinar Tip: Shutter Speed, Blur, Camera Shake, Subject Motion and Depth of Field for additional information about tripods and shutter speed.

