Flowers Webinar – Resizing Images, Scaling images for Large Prints and Reproductions
Flowers Webinar Photo Tip 4 – Resizing Images, Scaling Images up for Large Prints and Reproductions
Flower and Flora Photography and NIK Image Enhancement Webinar
John Bentham
Digital Photo Academy and LivinginHD present a free monthly series of photography webinars on LivinginHD.com. Your host, John Bentham answers many questions live during the webinars. Additional questions, answers and tips are posted here on digitalphotoacademy.com where you can also view the archived webinars.
Very often a pretty picture of a flower will become a beautiful landscape when enlarged to poster size or even bigger. There are a few tips you can use when sizing your images to avoid losing detail in the process. The tips below apply regardless of whether you are printing from your own large scale desktop printer or uploading online to a printer and poster fulfillment service.

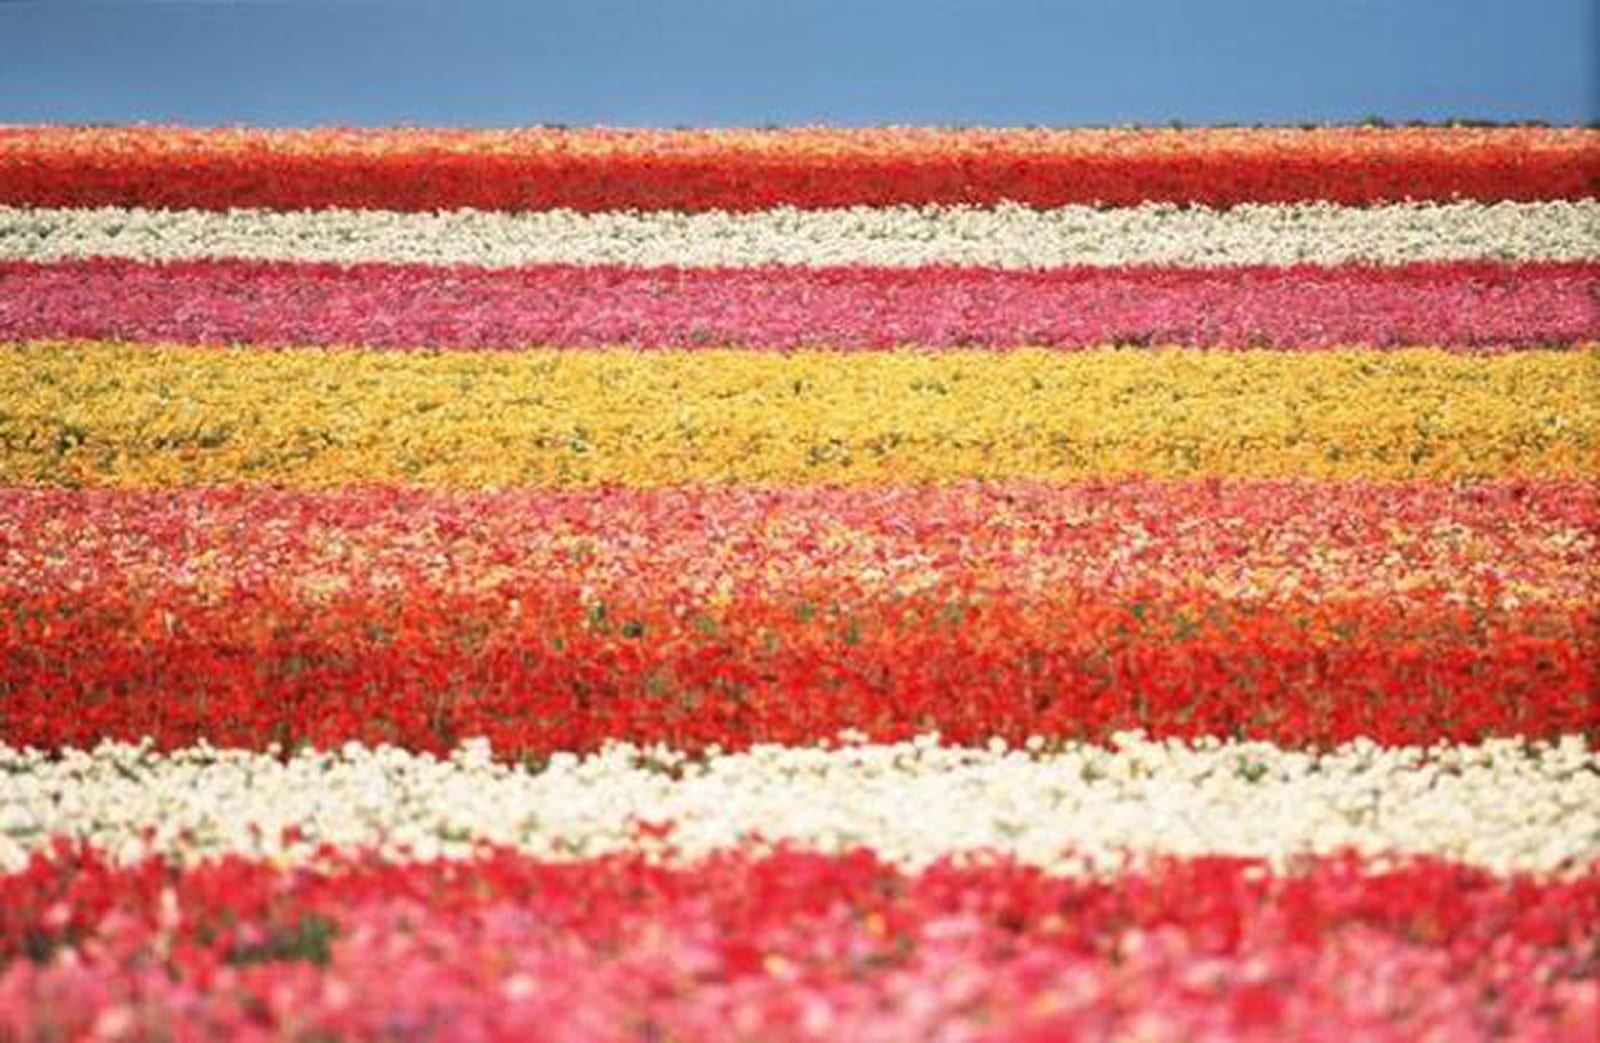
Photo by Christian Michaels, DPA Instructor San Diego
The 1960s color field paintings of Mark Rothko on first inspection appear as simple constructions comprised of basic graphic elements, bands and patches of color layered on a canvas. It is only after closer inspection and study that the complexities of these priceless artworks become evident. Much like Rothko’s paintings the multilayered banded fields of flowers in Chris Michaels photo above appear as an abstract expressionist painting, the individual elements being less important than the whole. When you imagine Chris’s photo enlarged to a Rothko sized 60 x 80 inches it takes on not just monumental proportions literally but heightened significance figuratively as well.
When re-sizing your images for large scale reproduction you can make color, structure, contrast and exposure corrections using NIK software before your resizing method but its also a good practice to re-visit the file after the enlargement. Very often once you enlarge an image there are many details that come out that were not visible or apparent before. These areas can be further enhanced with NIK Software and any imperfections can be touched up using Photoshop.

Photos by John Bentham, DPA Instructor New York
Compare the two versions of the photo above shot by New York DPA instructor John Bentham. The top image is the original file, shot straight to jpeg on a relatively low resolution camera (8MP). The bottom image has been enhanced using Viveza 2 and Color Effects Pro from NIK Software. You can see a significant difference in detail, structure, contrast and legibility in the lower image. By applying some of the tricks in NIK software and following a step up procedure in enlarging the image John was able to produce a 20 x 30 inch print with great detail.

Photo by Chuck Place, DPA Instructor Los Angeles
The beautiful, almost magical landscape photo above shot by Chuck Place, a DPA instructor in Los Angeles is a great of example of a photo with great Depth of Field, meaning objects in the foreground, middle ground and background appear in focus. By shooting at a relatively small aperture Chuck has captured this wide range of focus giving the photograph visual depth draws your eye into the scene. This is exactly the type of detail you want to preserve in your prints, especially in large scale reproductions.

Photo by Steve Dunwell, DPA Instructor Boston
The tulip photo above shot by Boston DPA instructor Steve Dunwell is a great example of a flora photograph that would look spectacular enlarged to a grand scale, much larger than life size. When flowers are blown up to 20 x 30, or 30 x 40 inches they become majestic images, almost spiritual, reminiscent of Georgia O Keefe paintings. Steves tulip photo reproduced on such a grand scale would become more than the flowers themselves, becoming more about the colors and patterns, almost a graphic representation of flowers.
Step-Up Sizing Process: Beginning with the image created by your camera you are looking for a larger quality and higher resolution file jpeg to use as your source file for printing. Depending on your camera the default output resolution will be displayed as dpi (dots per inch). 300dpi, 72 dpi, 180dpi are all common default sizes but this size is set by the manufacturer. The resolution size (dpi) is also accompanied by an image sixe, height and width dimensions either in pixels or inches. For example a particular camera might generate an image of 10 x 15 inches at 300 dpi, while another manufacturers camera may generate an image at 72dpi with dimensions of 38 x 54 inches. These numbers will also be determined by the capture resolution of your camera, how many Mega Pixels your camera can record. Regardless of the default size after capture an image can changed and stepped-up in size with image software (Photoshop) to produce a high quality, high resolution print. Most often people make one blunt change in image size, changing the size to 20 inch at 72dpi which results in a small file. Or they size up without steps in between resulting in a loss of image quality. To size correctly with very little, if any image loss follow the procedure below.
If you are starting with a 72dpi file (native resolution for many cameras) at approx 38 x 54 inches. Most people assume because they are at 72dpi these are small. This is a very large file at approx 40+MB. To alter the size to a larger or printable version you need to make size changes in steps. To make a 300 dpi file at 16 x 20 inches, suitable for printing follow steps below:
Starting with 72 dpi, 69 x 46 inch file.
Make a copy of file (DO NOT work on the original).
Using Image software (Photoshop) open the copy image size
Then open the image size box (Option+Command Letter I on a Mac using Photoshop)
See document size boxes for Width, Height & Resolution
Make sure the constrain proportions box is checked ON
Change Width to 60 inch, Height will change in proportion (to 40)
Change resolution to 100 dpi
Hit OK
Then follow the same steps each time in-putting the following specs. Between each step you need to re-open image size box.
You do NOT need to Save file each time, just make sure to SAVE at the end of the step-up process.
Change Width to 50 inches, Change resolution to 150, Click OK. The Height will default to the corresponding dimension provided the Restrain Proportions Box is checked.
Change Width to 40 inches, Change resolution to 175, Click OK.
Change Width to 30 inches, Change resolution to 200, Click OK.
Change Width to 25 inches, Change resolution to 250, Click OK.
Change Width to 20 inches (Height will default to 13.334 inches), Change resolution to 300, Click OK.
Enter SAVE command
You now have a hi res file at 300 dpi, 20 x 13.3 inches. File size will be a very high 68MB (approx). With this method you can start with an image form a relatively small 8MB camera and produce a 40 x 60 inch print without too much loss of detail.
Depending on your camera and the image size you are starting with you will need to adjust the step up sizes accordingly. If you are beginning with a file already at 300 dpi you don’t make any changes to the resolution size you simply size up (or down) the dimensions gradually to get to your desired finished print size.

